Taxes and shipping calculated at checkout

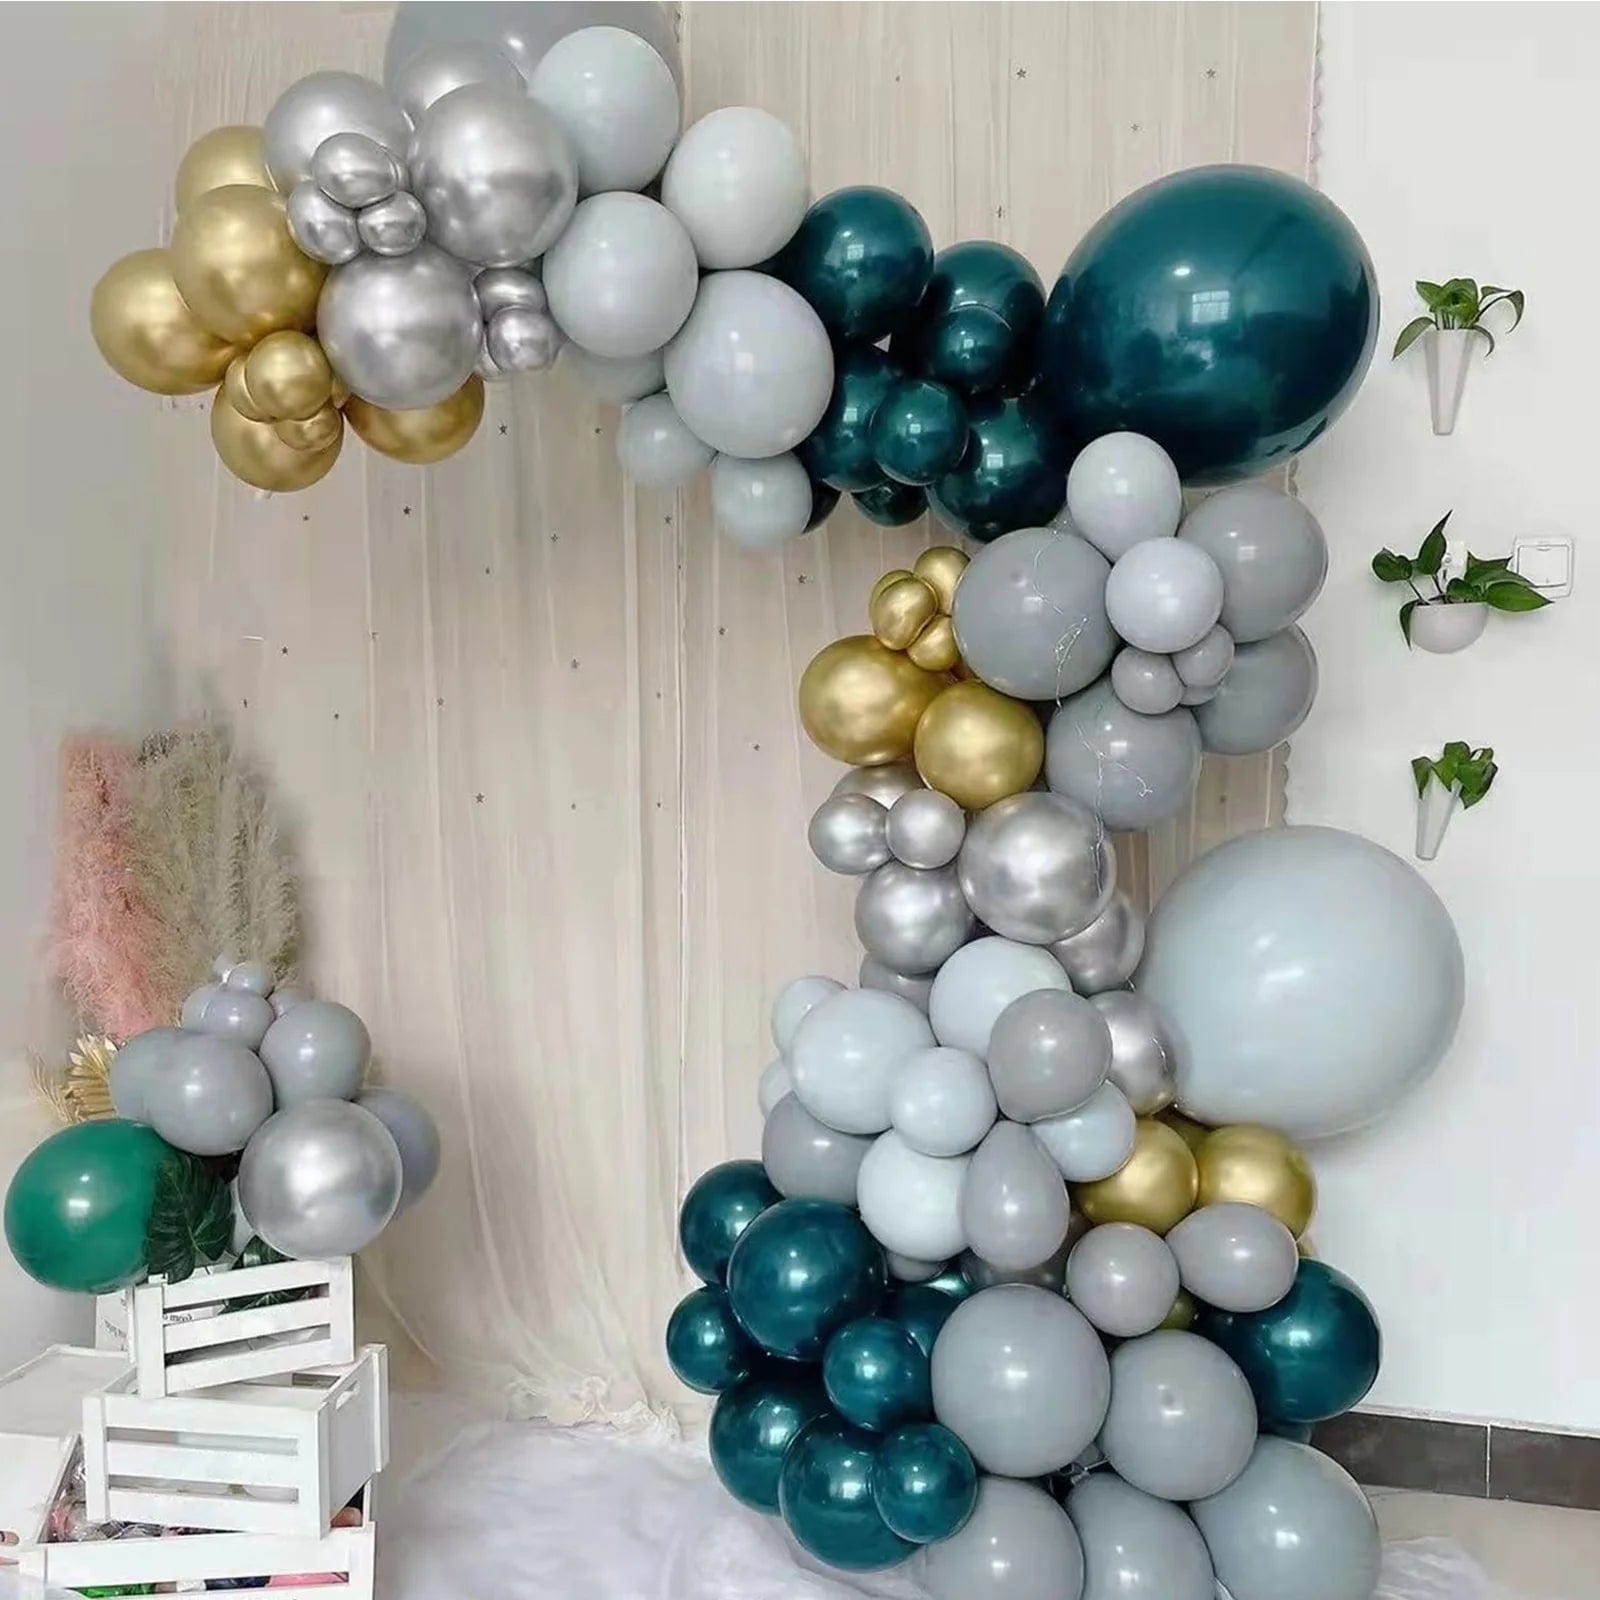
Balloon garlands and arches have truly become a staple of party decorations, from baby showers to wedding receptions! These gorgeous cascading balloons make a lovely addition to backdrops, party tables, entry ways and so much more! The best part? You can customize the colors from our party collection or choose a kit with pre-selected colors for easy set up.
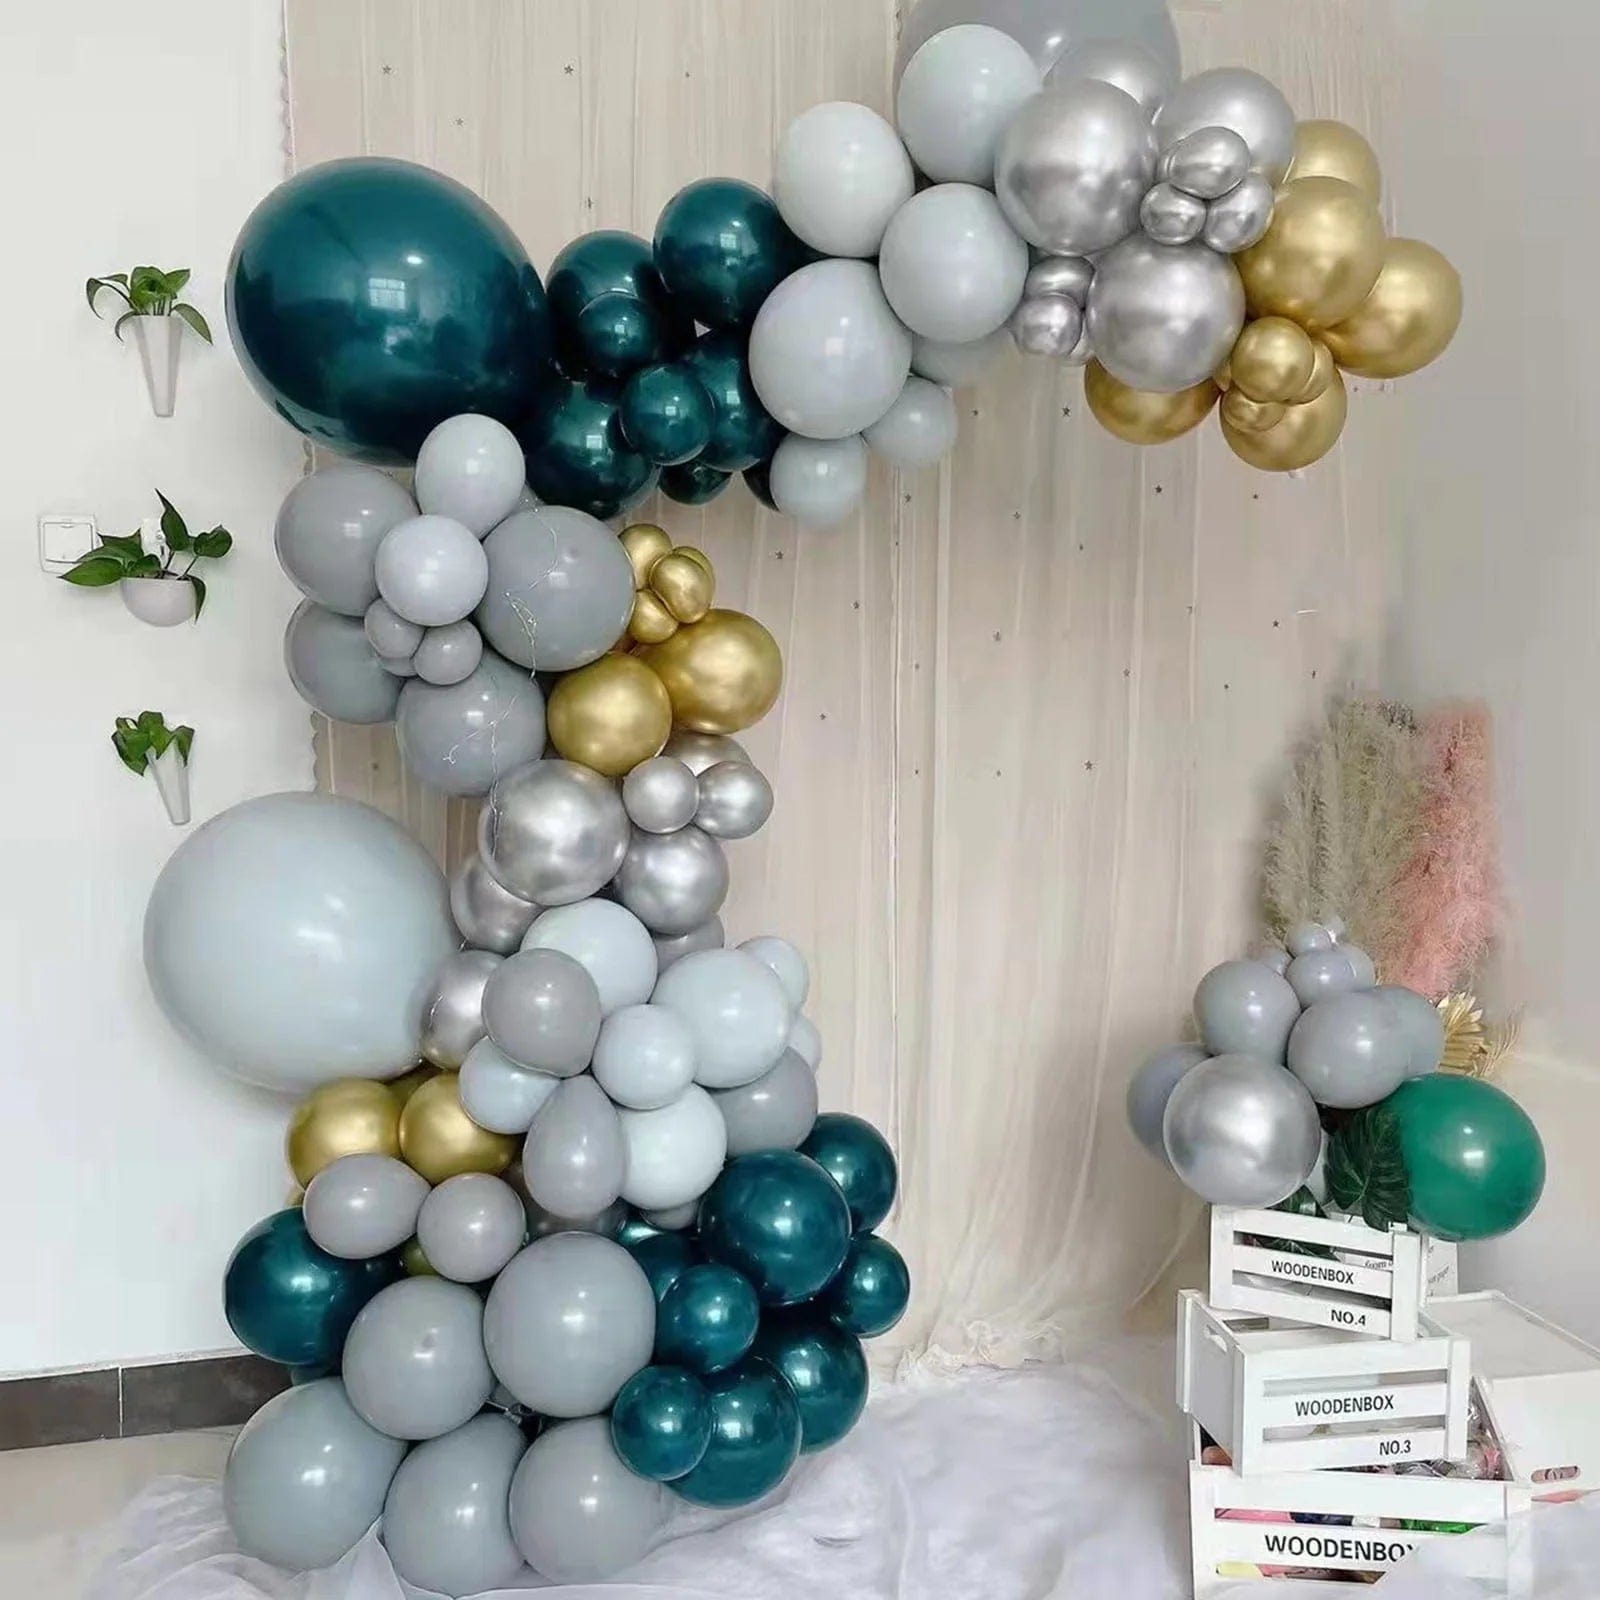
Using balloons strips and our balloon party kit, we're going to make a quick and easy garland with our clear plastic balloon tool strip that's perfect for a photo booth or event backdrop. If you've always wondered how to make your own balloon garland arch, you'll love this easy DIY tutorial with no helium required! Comment below if you have any questions or wondering how to style your balloon arch, we’re here to help!

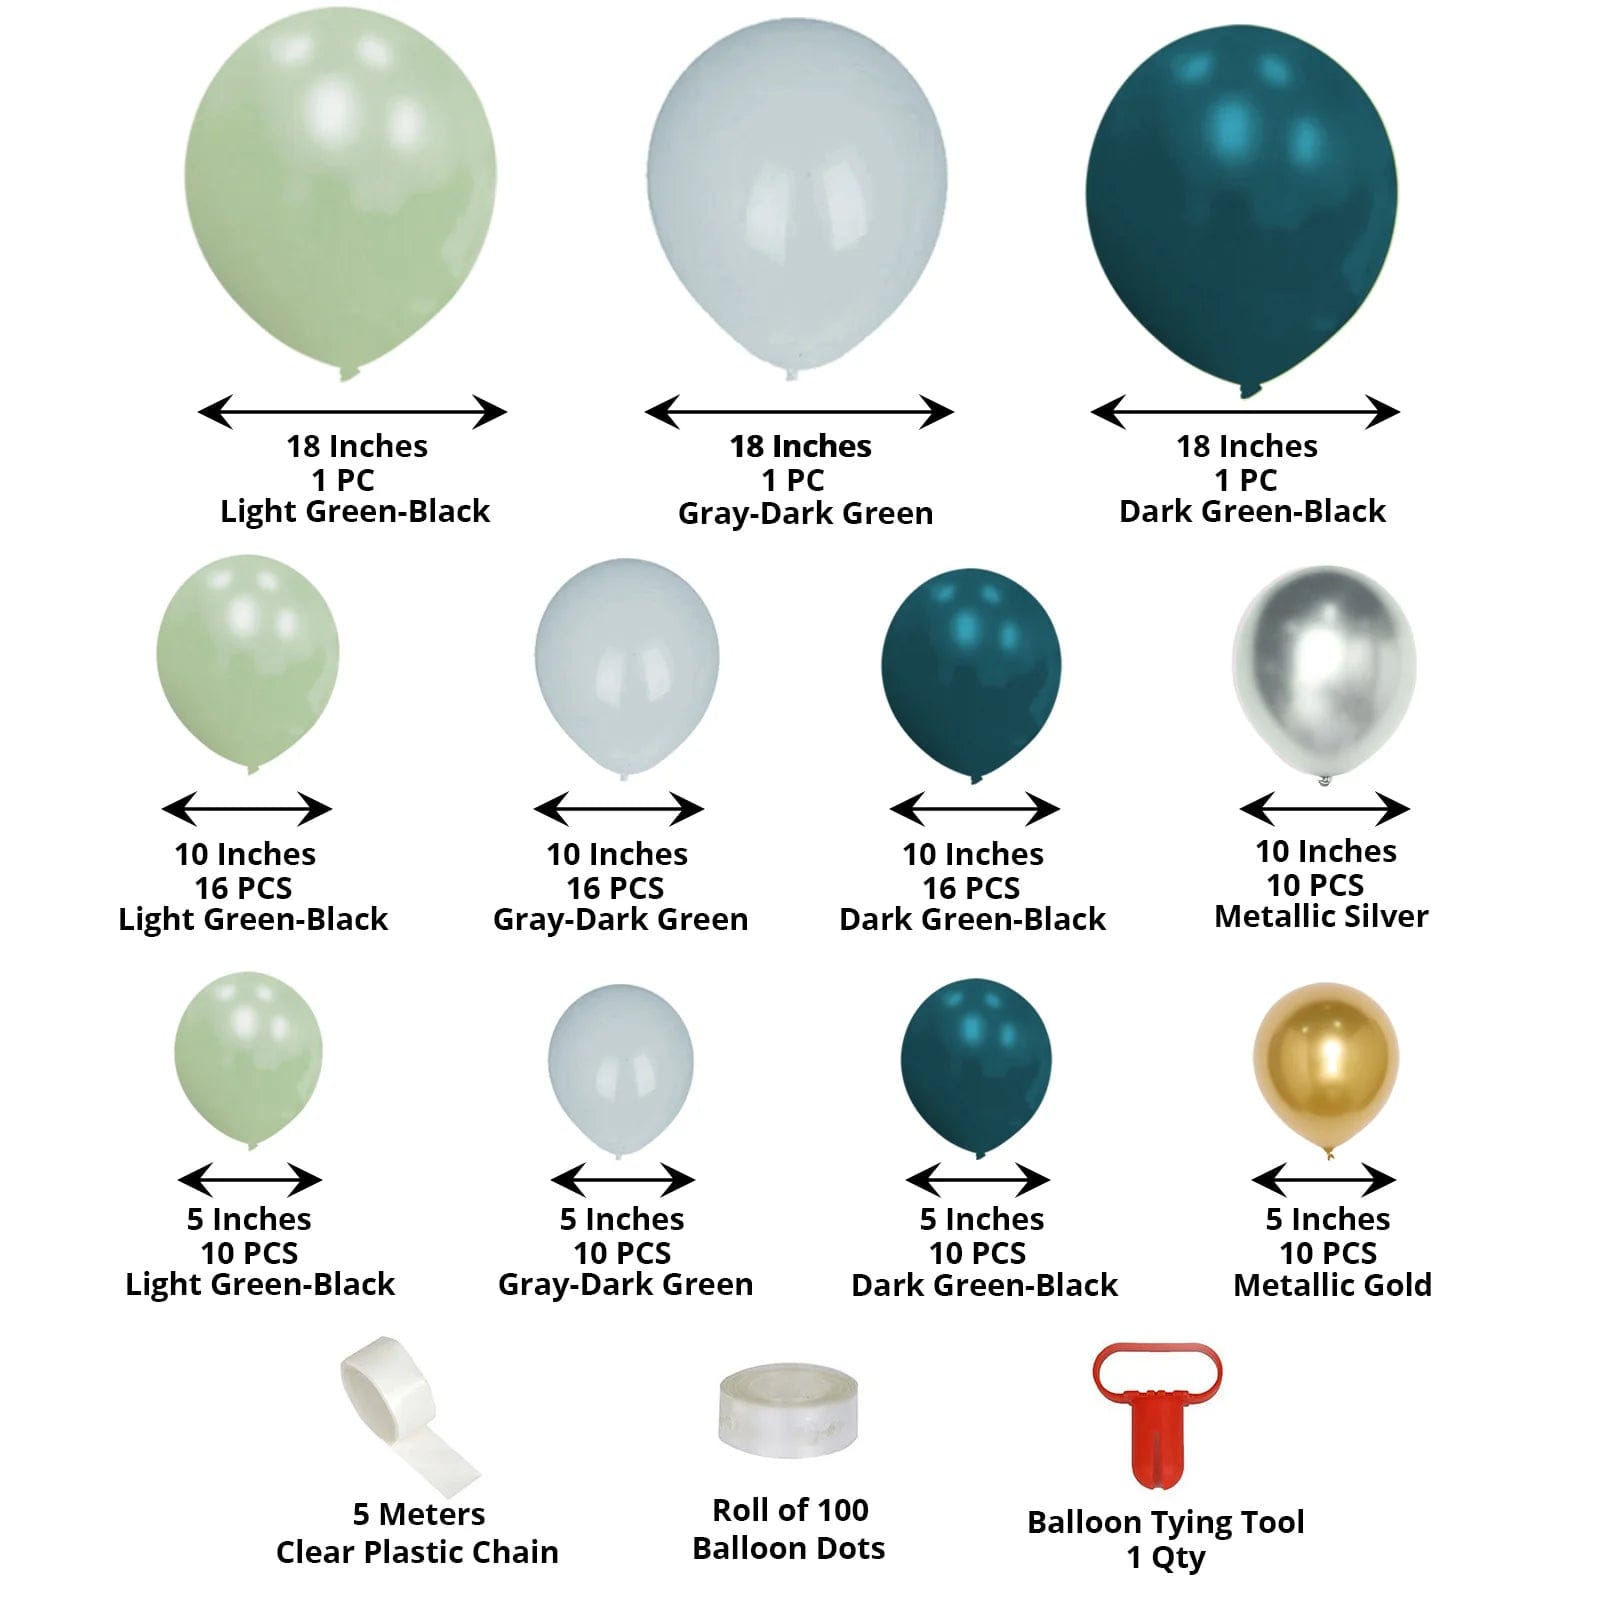
For this garland you’ll need -
Start by inflating some balloons! Don’t inflate all the balloons, leave a few so you can fill in gaps. Most balloons can be inflated to 10 inches BUT here’s the trick to getting that perfect balloon garland look - let some air out so the balloons get that round shape. You'll also want to vary the sizes of the balloons as that will give your garland a more interesting look.
Using a clear plastic balloon strip, put the balloon ends into the holes in the strip. Be sure to vary the colors to every other hole opening, switching up the sides, otherwise it won’t look very full. Put the balloon tie through the bigger opening, then slide to the smaller one. Use every other opening and alternate balloon placement by skipping holes. Continue to add balloons until you reach the end of the strip. If you don't have one, you can always just tie the balloons to a balloon ribbon or fishing line!
To fill in gaps, use glue dots to connect balloons to each other. You also may want to add glue dots throughout the garland to close up any gaps between balloons that are on the strip. There are about 100 glue dots that come with this kit, so you have plenty to use for this garland.
We used two 3M hooks to hang the garland on the wall, but feel free to add more for stability. Make a loop with a ribbon (or fishing line) on one end of the garland strip and hang it on the hooks. If you're adding the garland to a backdrop stand, you can use zip ties instead.

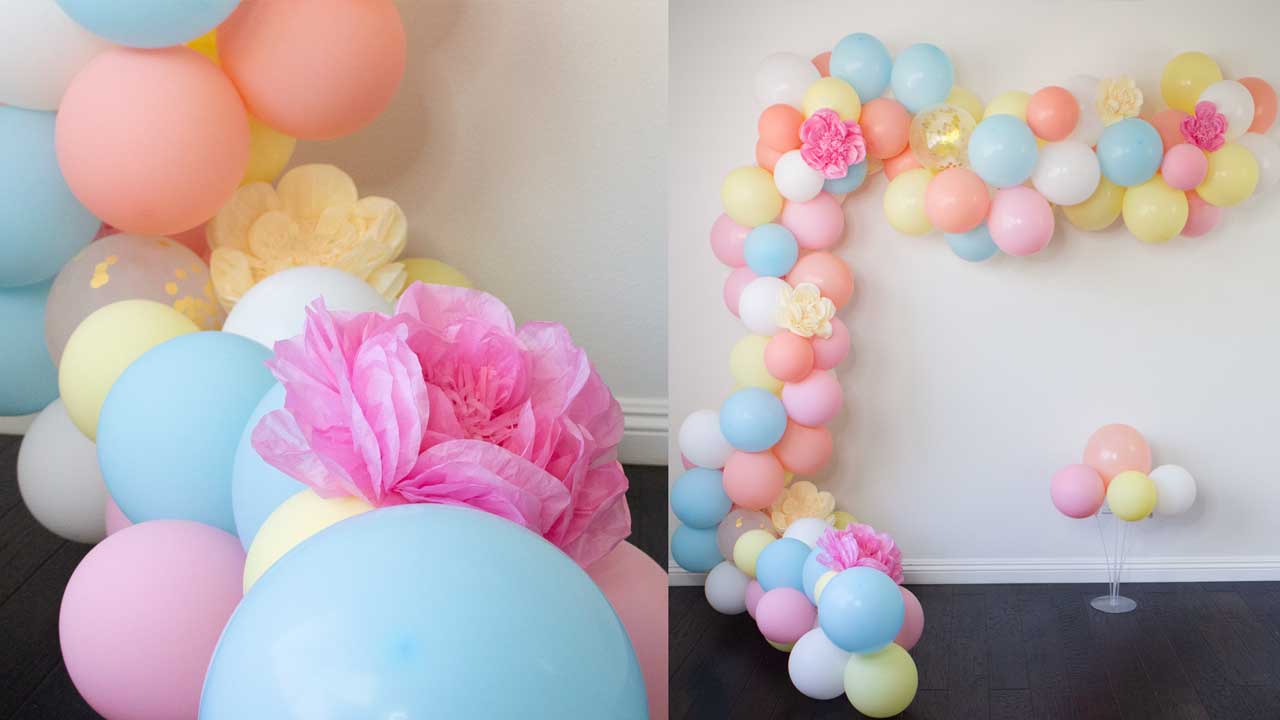
This garland is so colorful and fun, perfect for birthday parties, baby showers, wedding photo booths, it’s really going to give your event that wow factor! For the final look, we added paper flowers and it looked so beautiful! You can also add paper pom-poms, tassels, and style as you'd like!


We hope this helped you plan your perfect balloon backdrop decor! Let us know how you'll be styling these balloons in the comments. Tag us @BalsaCircle or #BalsaCircle if you make one of these for your home or special event, we'd love to see your beautiful arrangements!
Add a pop of color to your party set up with a gorgeous balloon garland DIY tutorial!
Read more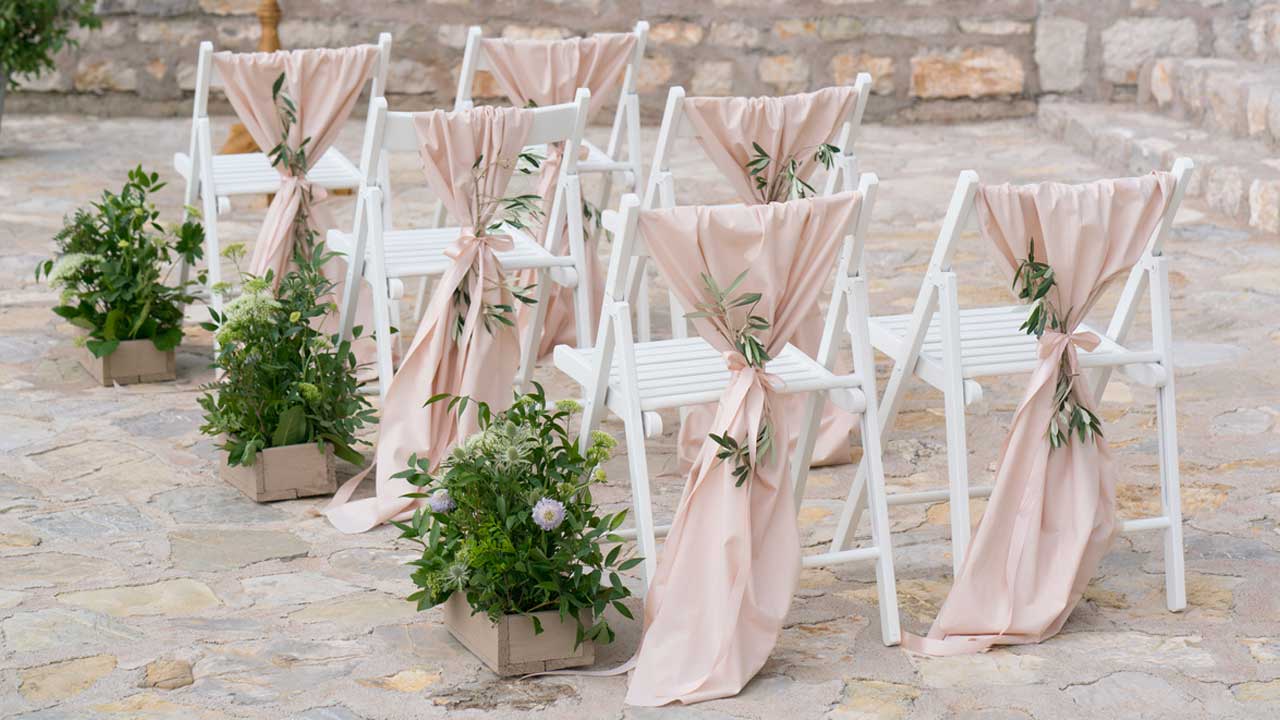
Planning an event? We have your guide to choosing the best chair decorations for your party and chair types!
Read more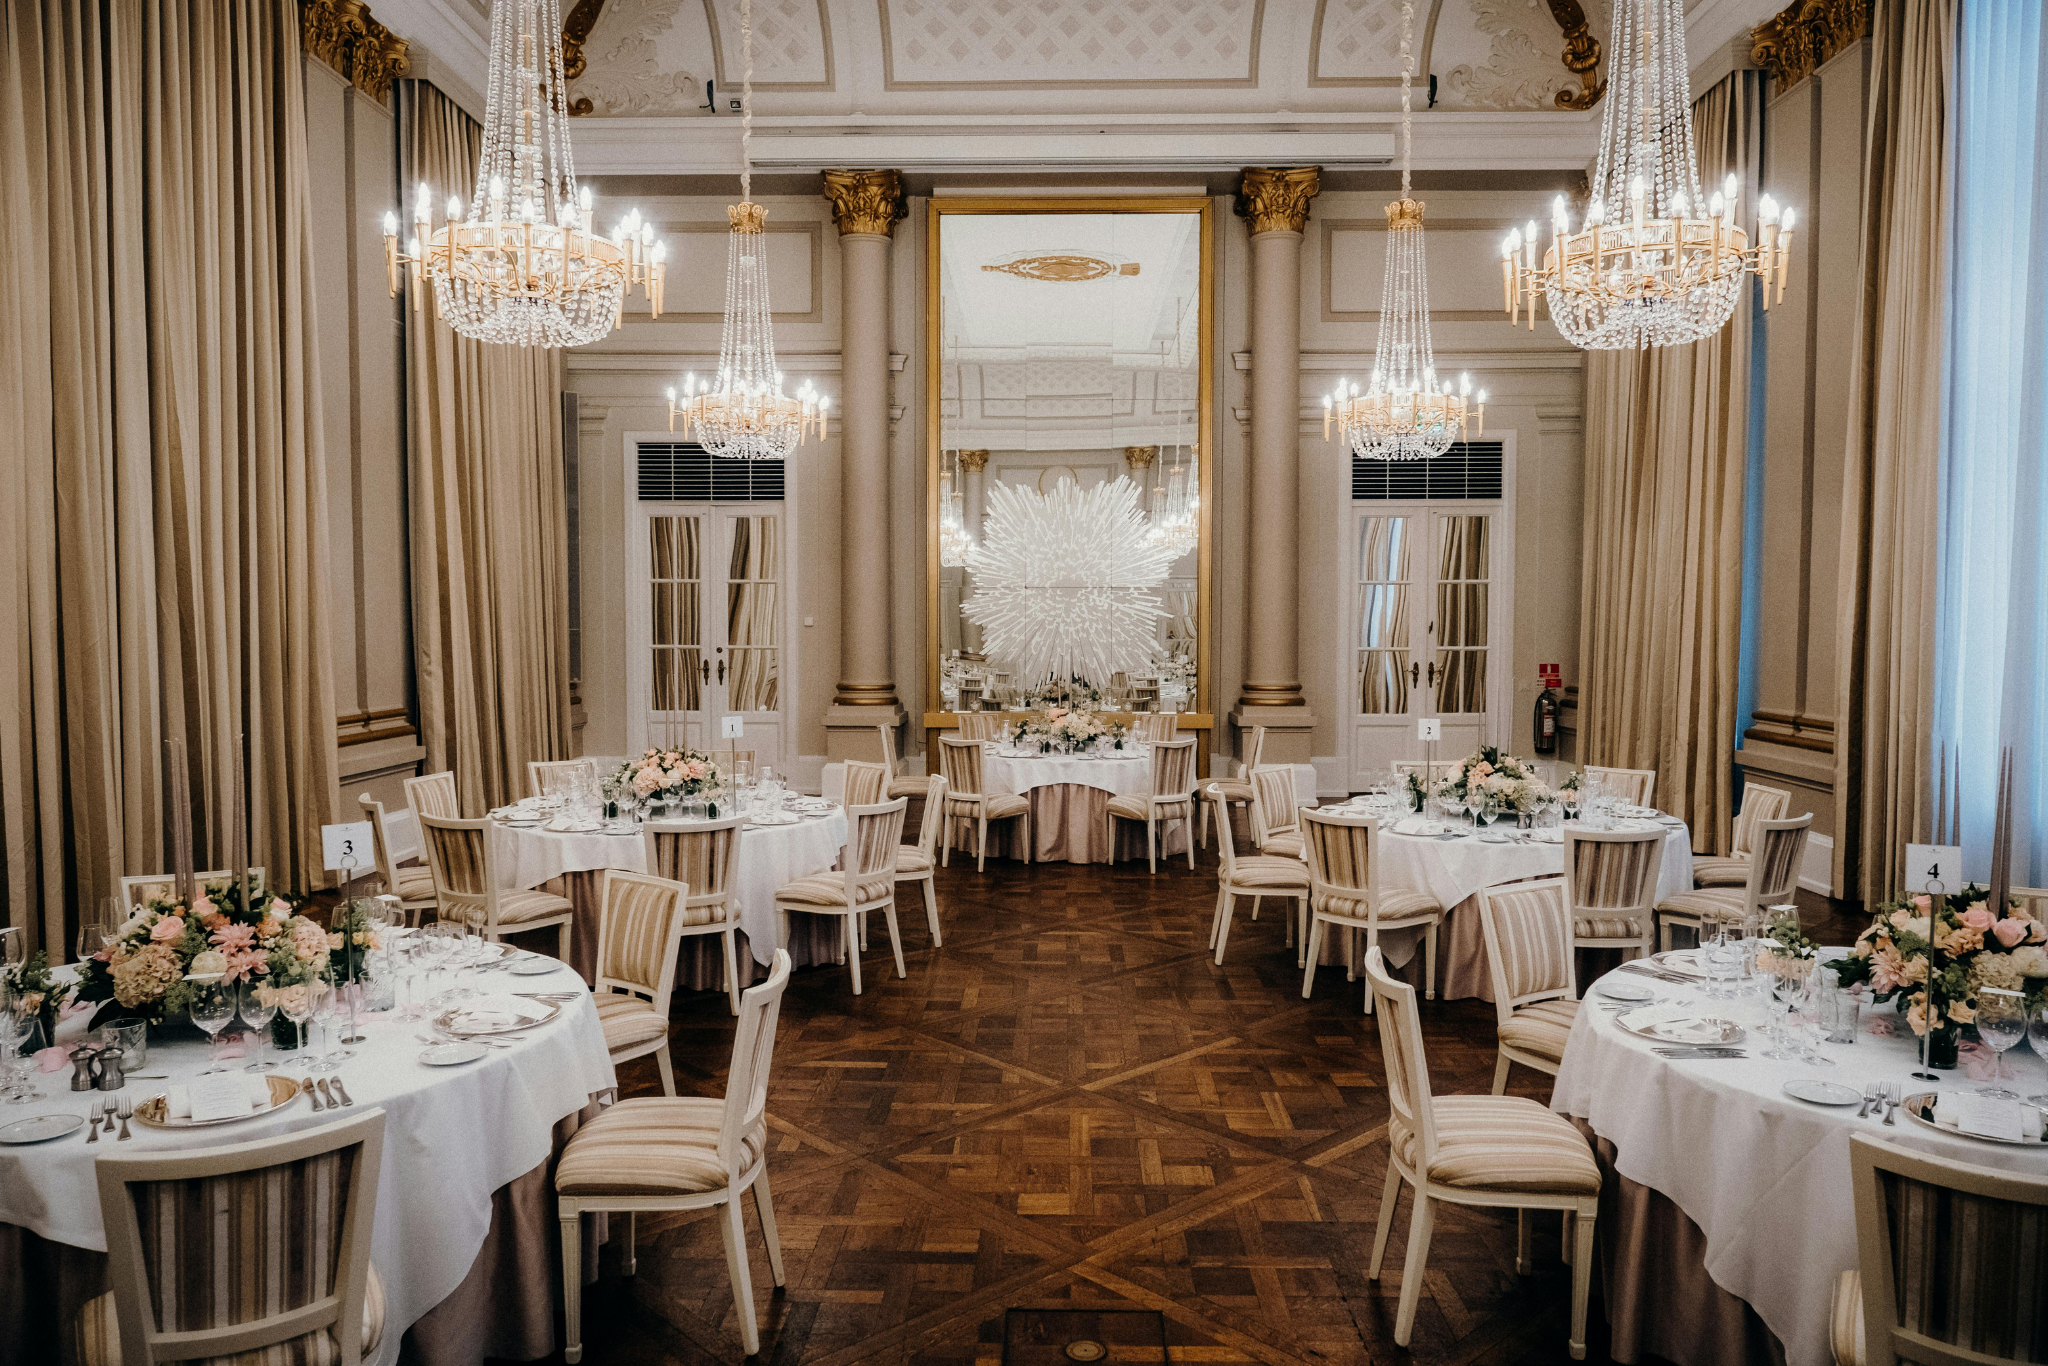
Not sure what size table overlay you need? This guide breaks it down for you! From finding the perfect fit to layering like a pro, this quick guide will help you create a beautifully styled tablescape for any event.
Read more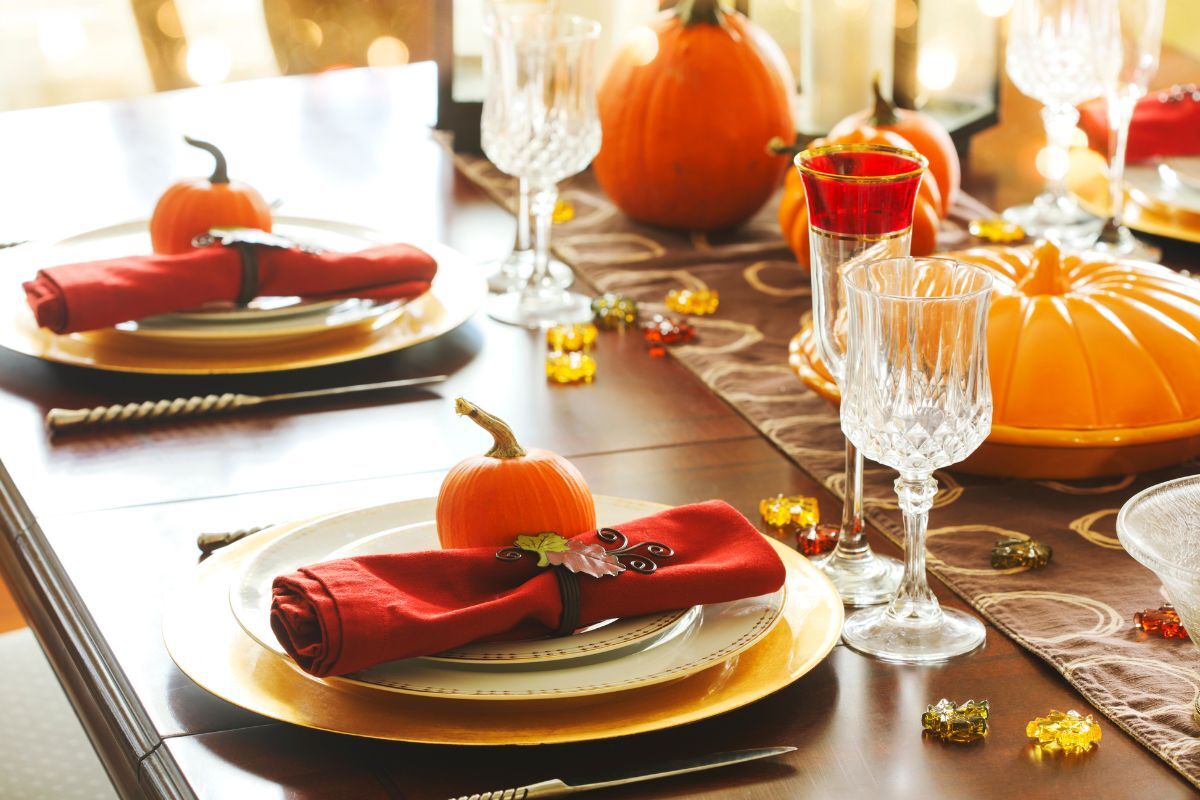
When and why should you use charger plates? We have a helpful guide to make setting your table stress-free!
Read more